See what Analyzify delivers

Get a tailored tracking tool

Explore newest features


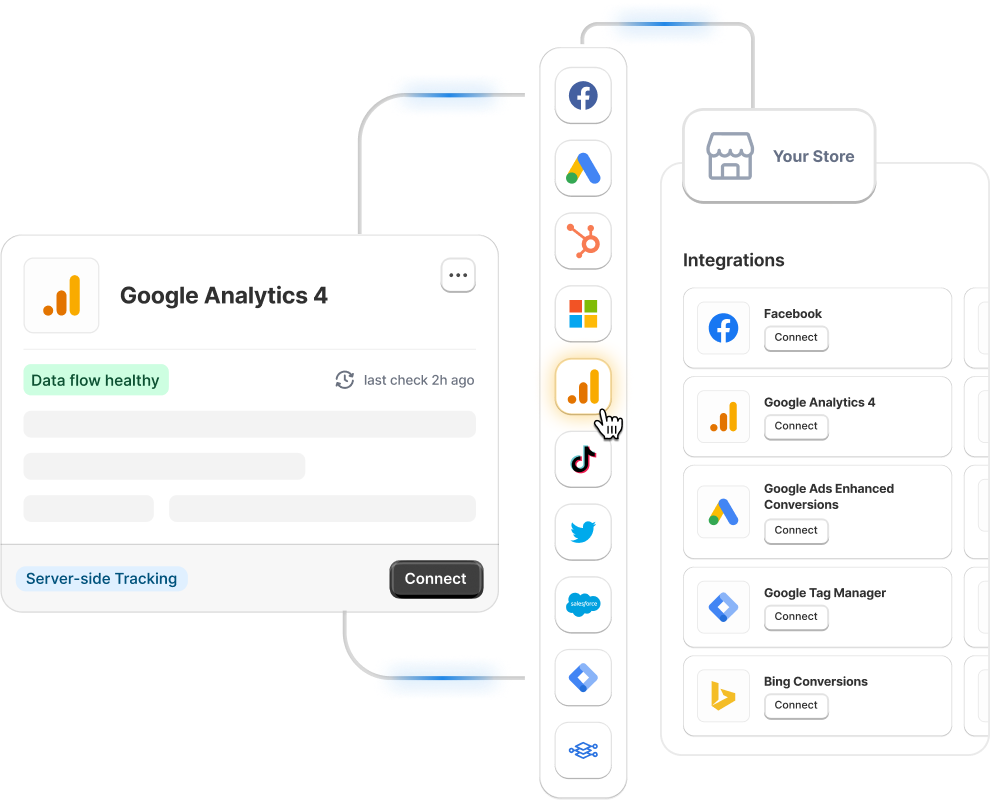
Connect to marketing platforms

Achieve 98% tracking accuracy

Access 150+ tracking parameters

Maintain compliant tracking

Build and sync targeted audiences

Unify your marketing data

Track all touchpoints to purchase
Get an overview of core functions, setup process, support & assistance, and more
Explore AnalyzifyDiscover the latest updates & features engineered to improve your data quality
Changelog →
Get reliable conversion data and make data-driven decisions confidently
Identify and resolve tracking issues before they cause data inconsistencies
Secure server-side tracking for Google Analytics, Meta, and TikTok
Improve your conversion tracking accuracy by up to 98%


Scale tracking for high-volume

Set up tracking for multi stores

Streamline client data setups

Make data-driven decisions

Works with every Shopify plan