Chapter 1
Google Analytics 4 vs. Universal Analytics
Set up Universal Analytics on Shopify
Advanced Enhanced E-commerce Setup
FAQ on Universal Analytics Setup
Google Analytics is the most powerful reporting tool for website behavior and performance marketing analysis. However, many Shopify merchants end up in a tight spot when it comes to taking full advantage of it.
There could be many reasons behind that such as:
We have prepared this playbook to help you complete the most ideal Google Analytics setup on your Shopify store so that you can fully exploit it. We’re also going to mention some of the common problems & solutions.
Google Analytics 4 (aka GA4) is the new and default version of Universal Analytics which has now been enriched by a more functional and user-friendly interface along with countless additional reporting services.
If you wonder which one serves best, here’s the game plan:
First and foremost, Google recommends parallel tracking – and so do we. It simply means that you should benefit from both versions at the same time for a seamless tracking experience. Having both setups in Analytics and Google Analytics 4 will help you get & interpret data more accurately.
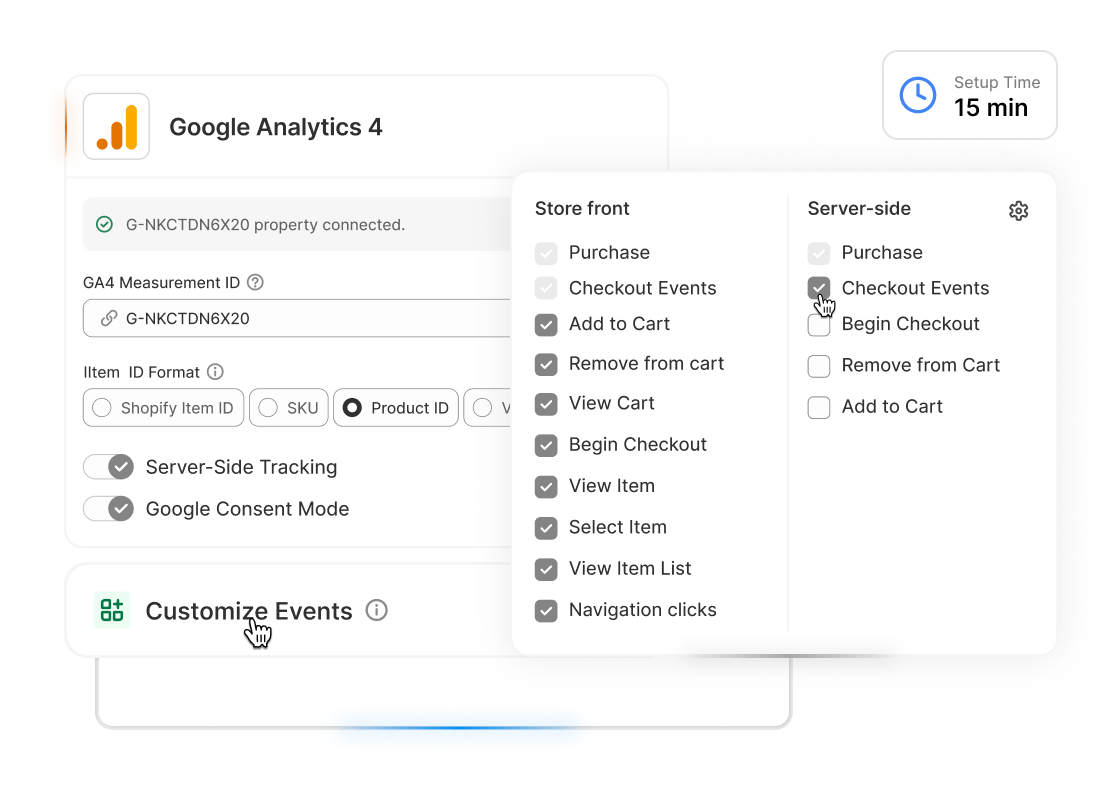
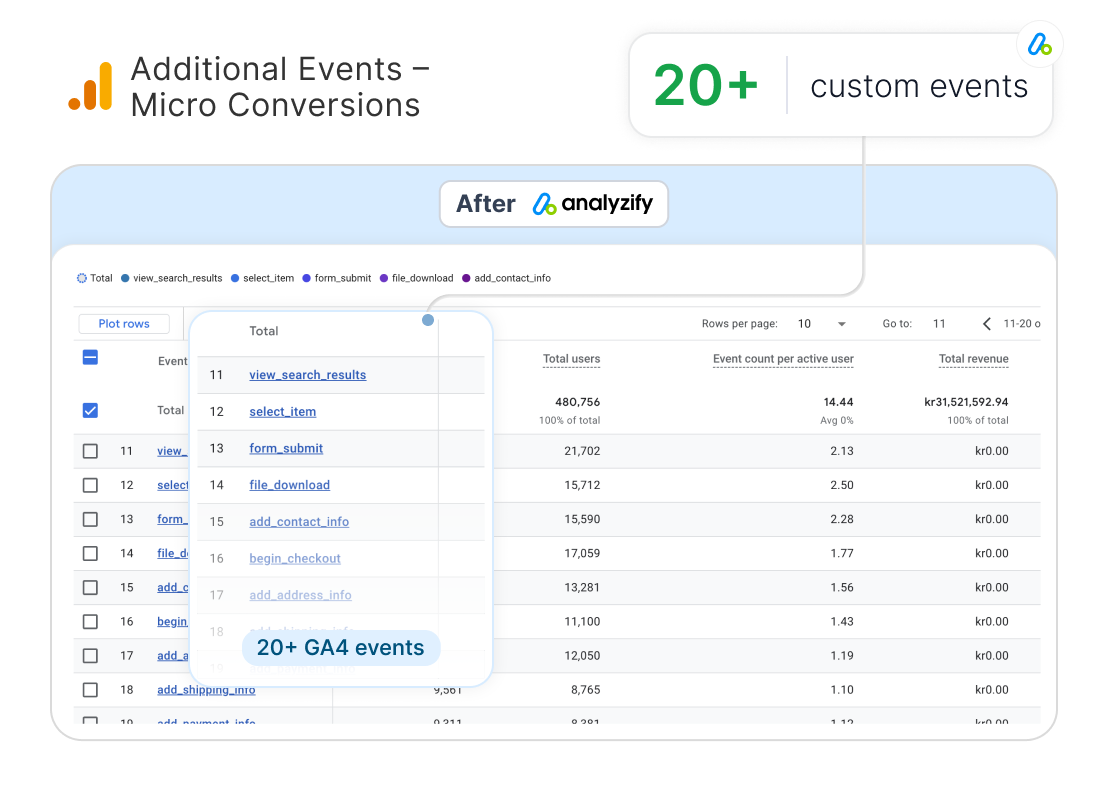
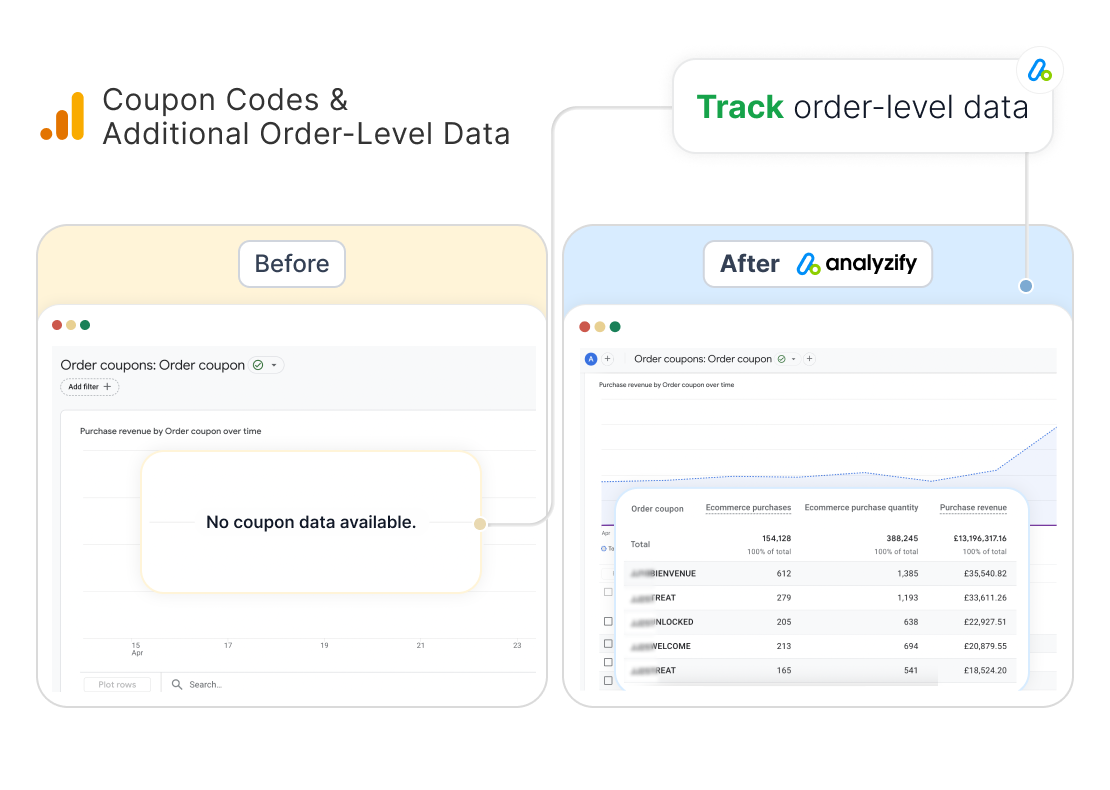
Analyzify offers you the best possible Shopify – GA4 integration in the market through Google Tag Manager.
Use the native integration for Universal Analytics.
If you are a non-Shopify Plus store, you’ll be better off using the native integration as you don’t have access to the “checkout.liquid” file. However, there are several important settings you have to do – so follow along with this page.
Set up Google Analytics 4 through Google Tag Manager.
Shopify does not support native integration with Google Tag Manager using Analyzify for the time being. Still, it doesn’t necessarily mean that you can’t utilize GA4 on your Shopify store. Analyzify offers you a GTM setup that has been proven by hundreds of merchants to be working seamlessly. You’ll also have a flawless e-commerce tracking experience.
Set up Universal Analytics through Google Tag Manager.
If you are a Shopify Plus store, we recommend setting up Universal Analytics through Analyzify’s Google Tag Manager integration because it provides you with more accurate and in-depth reports than the native integration. The native integration is still a great choice for the non-Shopify Plus stores due to checkout.liquid limitations.
Although it’s commonly believed that Google Analytics 4 is simply a newer version of Universal Analytics, it’s not really the case actually. Here are how they differ in functionality in short:
Different data models: GA4 uses an event-based data collection method whereas UA does a hit-based one.
Cross-data reporting: You can easily track multiple devices on a single GA4 property using different streams while UA is quite limited in doing so.
Enhanced Google Signals: GA4 allows you to use Google Signals on a much deeper level.
Since Google made GA4 the default version of Analytics; it is not that easy to create a new Universal Analytics account. You need to know a trick or two to be able to create one.
You can find the steps below or review our detailed step-by-step guide including screenshots and more explanations:
Visit Google Analytics and follow the steps to create an account.
Fill in the rest of the basic information and you are done! Congrats, you now have a Universal Analytics account.
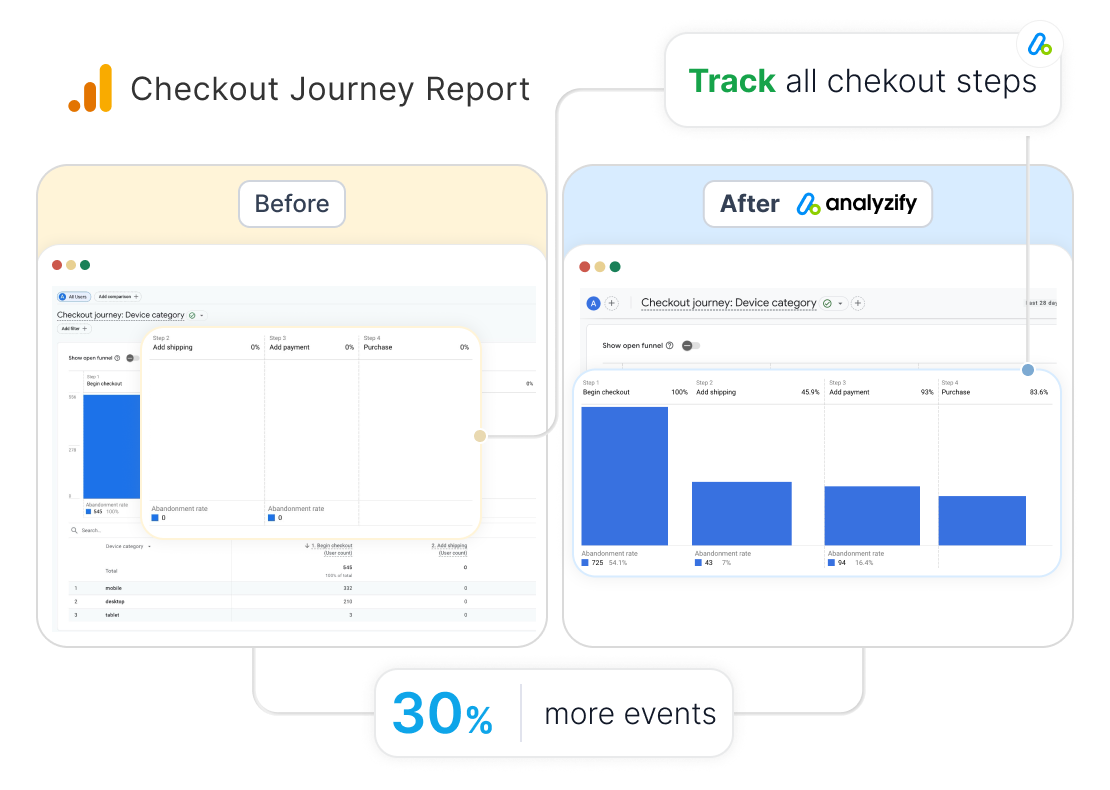
Follow our step-by-step tutorial for the best possible Universal Analytics setup on Shopify. We will go beyond the standard UA setup and enhance your reporting and tracking. Make sure to activate checkout behaviour funnel to be able to properly trcack user behaviour on your checkout pages.
Shopify’s native Universal Analytics integration works fine. However, it is missing some important features (such as checkout funnels) and settings. We have prepared this tutorial to guide you through the best possible setup structure. Just follow along!
Copy your tracking code from Google Universal Analytics. Admin (Left-bottom) > Tracking Info > Tracking Code PS: If you are not seeing Tracking Info > Tracking code sections on the admin. You are most probably in Google Analytics 4 property. Follow the steps above to create a Universal Analytics account or switch your account.
Google Universal Analytics offers a Checkout Behaviour Funnel to show you the user behavior during the checkout steps. That doesn’t work for Shopify merchants by default. You will need to make a few tweaks and settings.
You can also check out Shopify’s official Google Analytics setup guide.
Step 1: Copy the code block below.
The following code block will allow pass the relevant checkout steps information from your Shopify store to Google Analytics in the required format. Make sure to copy it correctly and move to the next step.
ga("require", "ec");
var ShopifyCheckoutstep = Shopify.Checkout.step;
switch (ShopifyCheckoutstep) {
case "contact_information":
ga("ec:setAction", "checkout", {
"step": 1,
"option": "contact_information"
});
ga('send', 'event', 'checkout', 'contact information', { nonInteraction: true });
break;
case "shipping_method":
ga("ec:setAction", "checkout", {
"step": 2,
"option": "shipping_method"
});
ga('send', 'event', 'checkout', 'shipping method', { nonInteraction: true });
break;
case "payment_method":
ga("ec:setAction", "checkout", {
"step": 3,
"option": "payment_method"
});
ga('send', 'event', 'checkout', 'payment method', { nonInteraction: true });
};
Paste the code block into “Additional Google Analytics JavaScript” section under the Online Store > Preferences > Google Analytics and SAVE it.
Note 1: If you are not seeing the related section, that means you haven't completed your standard setup yet. Follow along the tutorial above and then come back there.
Note 2: If you have already have similar codes there, you should just replace it with this one. If you have Google Tag Manager code there, please remove it - it never works and only causes troubles.
Go to Universal Analytics > Admin > E-commerce Settings and enable both options.
Note: If you are not "E-commerce Settings" on your Google Analytics admin menu, that means you are using a Google Analytics 4 property. Either switch your property to Universal Analytics or create a new UA property following our tutorial above.
We have now completed setting up the Checkout Funnels on Shopify. You will start seeing data on Universal Analytics > Conversions > E-commerce > Checkout Behaviour section.
You can check the official Google’s guide to “Measure Checkouts” on Universal Analytics if you want to learn more about the topic.
What if you could be ahead of everyone else is having a flawless UA setup to have a deeper understanding of your data? Well, you can benefit from Analyzify to get things done the right way. It helps you have the most proper & error-free integration with more detailed reports.
Analyzify includes 30+ integrations for your Shopify store through Google Tag Manager. While Analyzify GA4 integration is recommended for all stores, we recommend the UA Integration only for Shopify Plus clients due to checkout.liquid limitations.
Depending on your needs and preferences, you might want to choose another Shopify Analytics app. To help you further, we have prepared a list. There are many other Shopify Google Analytics apps in the market that we covered on this page.
Enhanced E-commerce is a feature of Google Analytics that provides you with specific and advanced reports for your e-commerce website.
First and foremost, it is a Universal Analytics feature that you can already have in Shopify’s native integration.
However, you can improve the integration and have access to more data with a few extra steps and settings.
Follow the steps below to make sure that Enhanced E-commerce is working perfectly on your Shopify store, and enrich your reports with our additional tips.
Apply the following recommended Universal Analytics settings and best practices to get the best out of Google Analytics 4. You will find the step-by-step tutorials and deeper explanation at the section below the links through the links.
Step-by-Step Tutorials:
We have prepared detailed tutorials to enhanced your Universal Analytics setup and to make sure your reporting will be useful and accurate. Check the following links and apply them one by one.
Analyzify’s core setup is based on Google Analytics 4 (GA4). Hence, we strongly recommend using GA4 with Analyzify so that you can take advantage of the new and default version of Google Analytics.
Keep in mind that you should use Universal Analytics (UA) and GA4 together (aka. parallel tracking). However, you are free to pause the GA4 tags on Google Tag Manager if you don’t want to use them together for a specific reason.
You can follow our step-by-step tutorial to create a new Universal Analytics property.
Technically, there is not really much difference. Upgrading from UA to GA4 only carries over some settings, which is recommended.
You can follow our related guide on creating a new GA4 account through UA.
Google Analytics 4 (GA4) is the new and default version of Google Analytics. Even its first version has many features that weren’t available in Universal Analytics (UA), and it will only get better with time.
On the other hand, GA4 misses some reports and features compared to UA. That’s why you should use both of them.
Analyzify’s core setup is based on GA4, hence we strongly recommend using GA4 with Analyzify so that you can take advantage of the new and default version of Google Analytics.
No. GA4 and UA are completely different properties. You will not lose your existing data in UA, but keep in mind that it also won’t be carried over to GA4.
Google Analytics 4 (GA4) is the new and default version of Google Analytics, whereas Universal Analytics (UA) is the old version. We have a long-form content where you can read a detailed comparison between GA4 and UA.