



Now we will show you how to set up Google Ads Enhanced Conversions on your Shopify store step-by-step.
We do have a specific guideline and step-by-step tutorial on this topic if you are interested in a more detailed way: Google Ads Enhanced Conversion Setup on Shopify
Before diving into the steps, let’s briefly explain what enhanced conversions are and how they are used.
What is Google Ads Enhanced Conversions
Enhanced conversions uses customer data to help Google Ads attribute more conversions.
When you set properly, Google Ads receives the conversion tag and the relevant customer data (such as name, email, phone, and address).
To utilize enhanced conversions, firstly, you need to activate enhanced conversions within Google Ads. Don’t worry; it only requires a couple of clicks to turn it on. In most cases, we use an existing conversion for this purpose, but you can also create another conversion specifically for enhanced measurement if you prefer.
However, simply activating enhanced conversions within Google Ads is not enough; you must also make additional settings either through GTM (Google Tag Manager) or via the Global Site Tag.
To complete your enhanced conversion setup on Shopify, you have two options:
- Set up with Analyzify through GTM
- Set up with Global Site Tag
If you are an Analyzify user, you must proceed through the GTM method. As for the second option, you do not need to be an Analyzify client to utilize this method. We’ll cover both methods below.
How to Set Up Enhanced Conversions
Enhanced Conversion Setup with Analyzify
As a first and reliable option, you can let Analyzify take care of everything for you. Analyzify includes all the necessary variables, triggers, and tags to set up Google Ads enhanced conversions on Shopify using GTM.
Therefore, you don’t need to take any action on GTM to enable enhanced conversions. Our setup accurately captures all the data for you and seamlessly pushes it to Google Ads.
Here, we have detailed documentation on Google Ads Enhanced Conversions Setup with Analyzify.
In this scenario, we must remind you that you can only have one enhanced-enabled purchase conversion and no regular (un-enhanced) conversions.
Enhanced Conversion with Global Site Tag
If you’re not an Analyzify client, don’t worry! We’ve got you covered with an open-source, step-by-step tutorial on how to set up enhanced conversions. Follow this comprehensive guide.
Let’s get started.

 Easy
 2 min

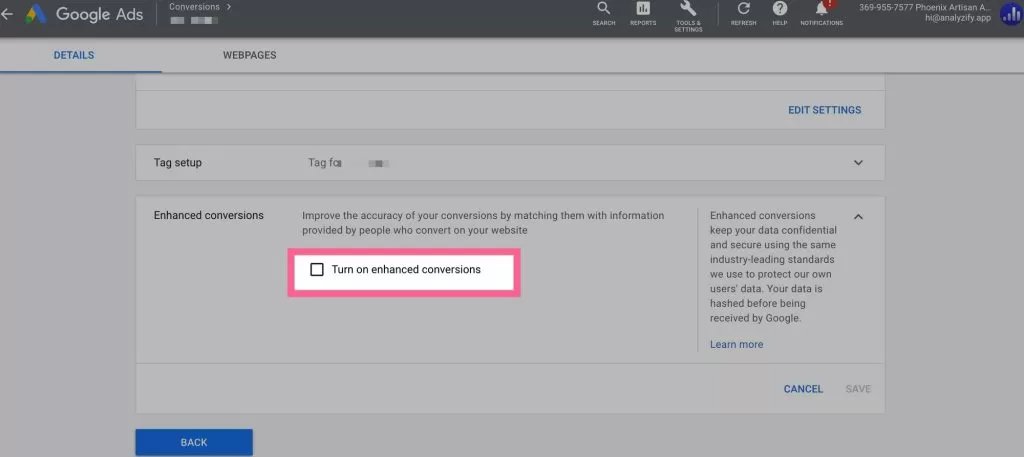
Click on your “Conversion” and see there is the “Enhanced Conversion” section. If yes, you can continue with the setup
We recommend creating a new conversion as a secondary conversion, and setting up enhanced conversion with that one - to prevent potential problems.
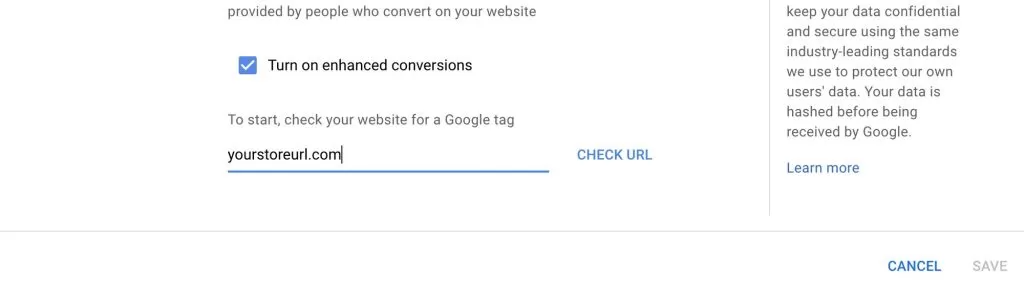
After you activate the enhanced conversion (preferable on a new conversion), choose set up with Global Site Tag option. Type your website and move on.
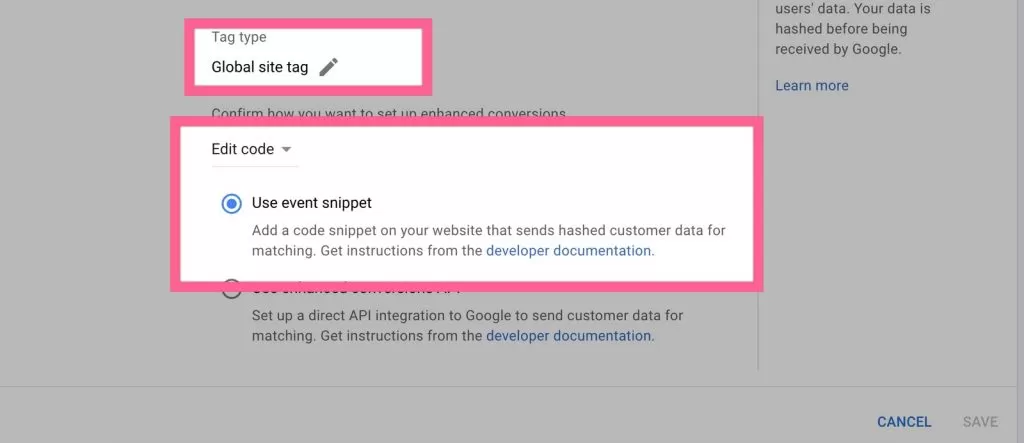
Choose event snippet and move on.
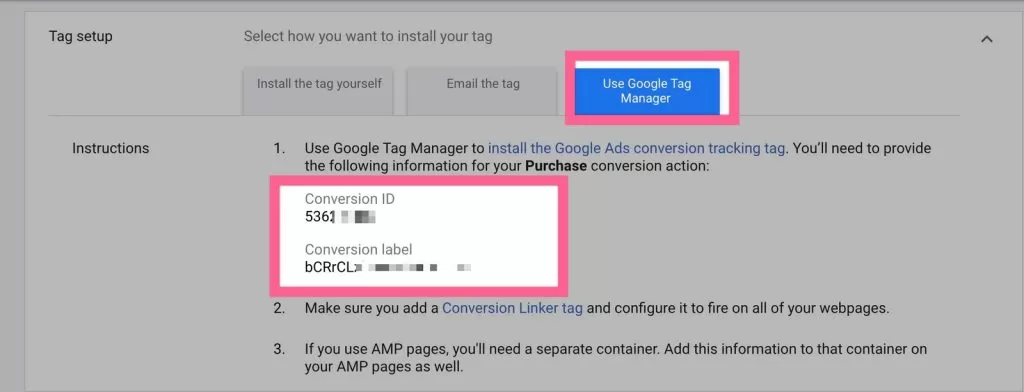
Stay on the same page, the easiest way is to scroll up and choose Google Tag Manager. It will directly show your conversion ID and label. Save them somewhere. You will need it in the next steps.
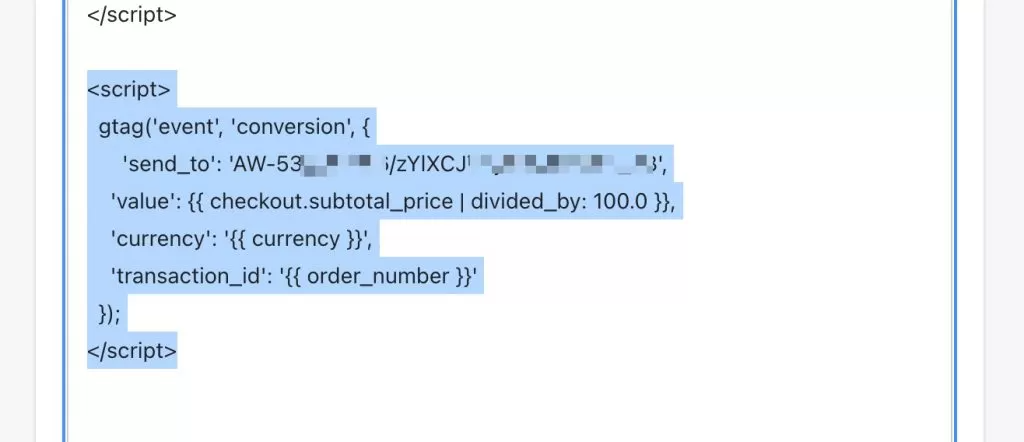
Go to your Shopify Admin > Settings > Checkout > Additional Scripts.After > Copy the whole code you see there - just for safety reasons.
You can remove this code block if you are using the same Google Ads Conversion and Label for the enhanced conversions as well. You should leave it as it is if you have created a new conversion for the enhanced.
You most probably have a conversion script there. If you can't see in the first place; you can try searching "AW-" - and search should lead you.
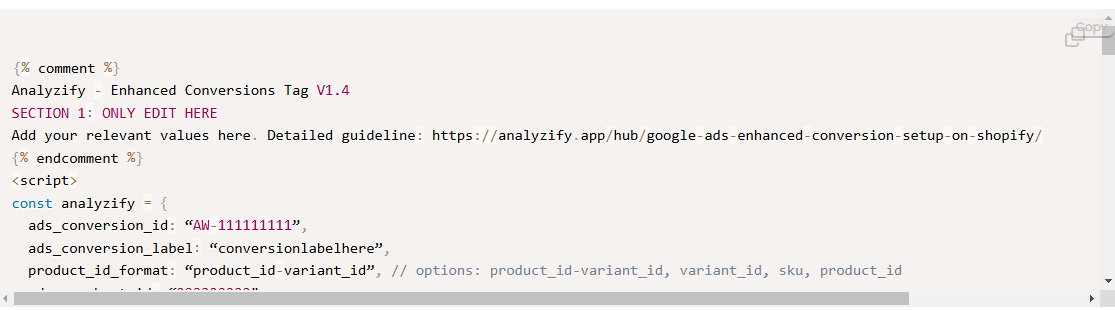
Copy the long code block you see below. You will need to edit the top section with your own parameters.
{% comment %} Analyzify - Enhanced Conversions Tag V1.4 SECTION 1: ONLY EDIT HERE Add your relevant values here. Detailed guideline: https://analyzify.app/hub/google-ads-enhanced-conversion-setup-on-shopify/ {% endcomment %}
{% comment %} SECTION 2: DO NOT EDIT BELOW - ONLY EDIT SECTION 1 {% endcomment %}
{% comment %} END Analyzify - Enhanced Conversions Tag V1.3 Detailed guideline: https://analyzify.app/hub/google-ads-enhanced-conversion-setup-on-shopify/ {% endcomment %}
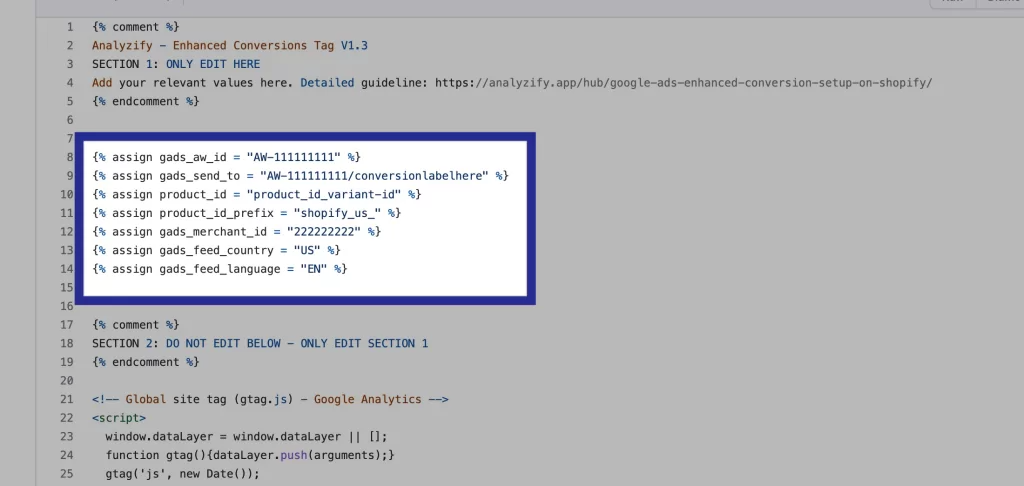
You will need to update the code block with your Shopify store & product feed & merchant center information. You should only update the marked section and not touch the rest of the code.
After adding your own parameters, you should paste this whole code block into the Additional Scripts section that we showed above.
Easy2 minIf you need an in-depth guide here, visit the related section on our documentation about the Enhanced Conversions Setup.